How to build a simple gazebo to the country
Arbor certainly must be in every garden. It's so nice to have lunch, eat barbecue or just sit and drink tea with friends in the fresh air. This will require only minimal skills and the most accessible materials. So, let's begin, how to build an arbor for summer house.

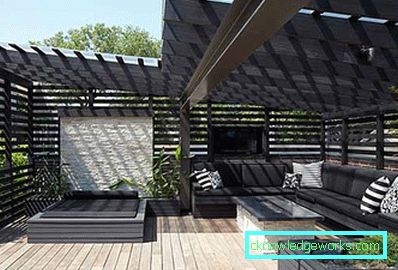
There are many ways to design gazebos at the dacha, but in this article we will focus on the simplest option.
What you need to build a gazebo
1. Materials
The number of materials required depends on the size and configuration of your gazebo.

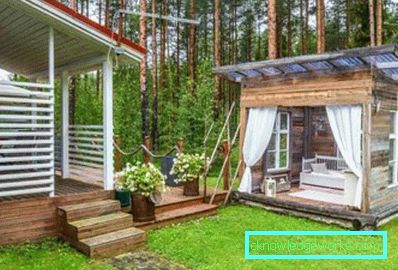
For example, this gazebo is more designed to shelter from the sun or prying eyes than from bad weather.


You will also need hardware. For construction of a garden arbor both self-tapping screws, and nails will approach.

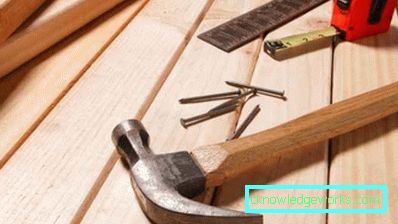
2. Tools
You only need a minimal set of tools: a tape measure, a hacksaw, a hammer, a screwdriver (if you decide to use self-tapping screws). This is all you need!
How to build a gazebo out of wood
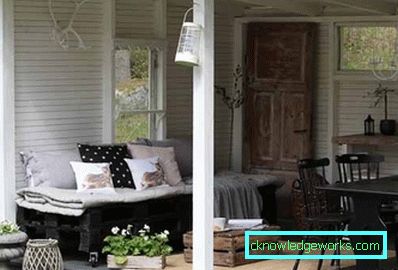
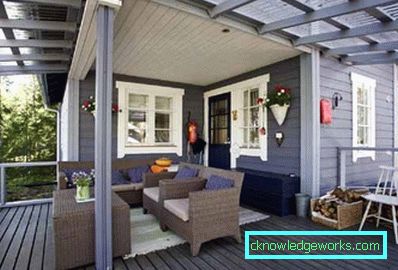
First of all, it is necessary to determine the design, configuration and size of the gazebo, as well as to prepare the place. Our gazebo will be divided into two parts: open and closed with barbecue.
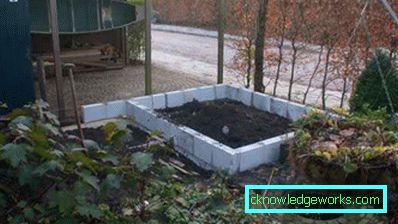
In the closed part, where the brazier will be located, the floor can not be made of wood, so this part will be tiled, and for it we make the screed.
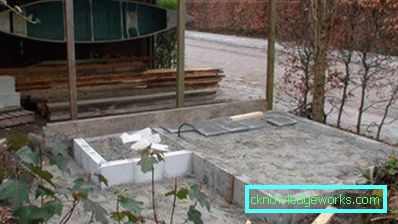
The floor of the open part will be lined with boards, so there we lay the logs. To do this work accurately and accurately will help the water level. The distance between the lags depends on the thickness of the floorboard that you plan to lay on them: the thinner the board, the smaller the distance should be.

Tip! When the lags are located very close, it can be difficult to fasten them, because you will need to wield a hammer or a screwdriver in the space between them. It is better to take a board of average thickness (30-40 mm.) So that lags can be safely placed at a distance of 50-70 cm from each other. Then it will be more convenient to stack them.

Please note that the space between the lags is not sprinkled with earth and is not filled with anything. This will provide ventilation and extend the life of our floor. For greater reliability, it is possible to treat logs with linseed oil, used lube oil (preheating it), or special compositions for protecting wood.
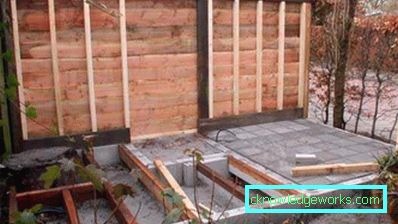
Next, we proceed to the assembly of the frame and cladding.

For covering our arbor, we chose unedged board. It looks attractive, is inexpensive (compared to clapboard and other materials) and does not present any particular difficulties in the work. Millet begin to sheathe the bottom and move up. The uneven edges of the board will hide small flaws, if you made them.

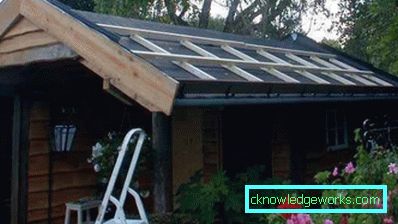
The next step is very responsible. Build rafters for the roof.
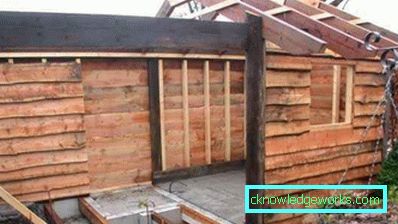
Our roof will be gable.

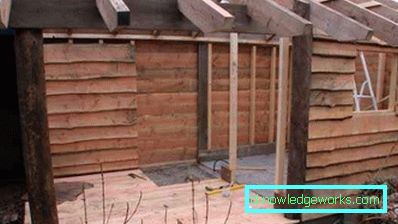
We sheathe flooring.

Now we have everything ready to do the roof.
You can use any available roofing material, but a real lawn will grow on our roof! Therefore, we make a continuous crate of boards.

Next on the boards we lay a special waterproofing and make a grid of timber. This grid will act as reinforcement and prevent soil from sliding down the roof slopes.
Do not forget to bring to the roof the chimney for the brazier.

Now we lay the drainage pipes and fill it all up with a layer of expanded clay.

Our roof is almost ready. It remains only to pour the soil and sow it with lawn grass.

We considered an interesting and extraordinary project of a wooden arbor. Some of its aspects may seem to be not quite simple (for example, the construction of a living roof).

You can make a garden arbor with your own hands by changing the details and adjusting the idea to your needs and circumstances.
Perhaps our video will tell you your version of a simple and beautiful wooden arbor for the garden.